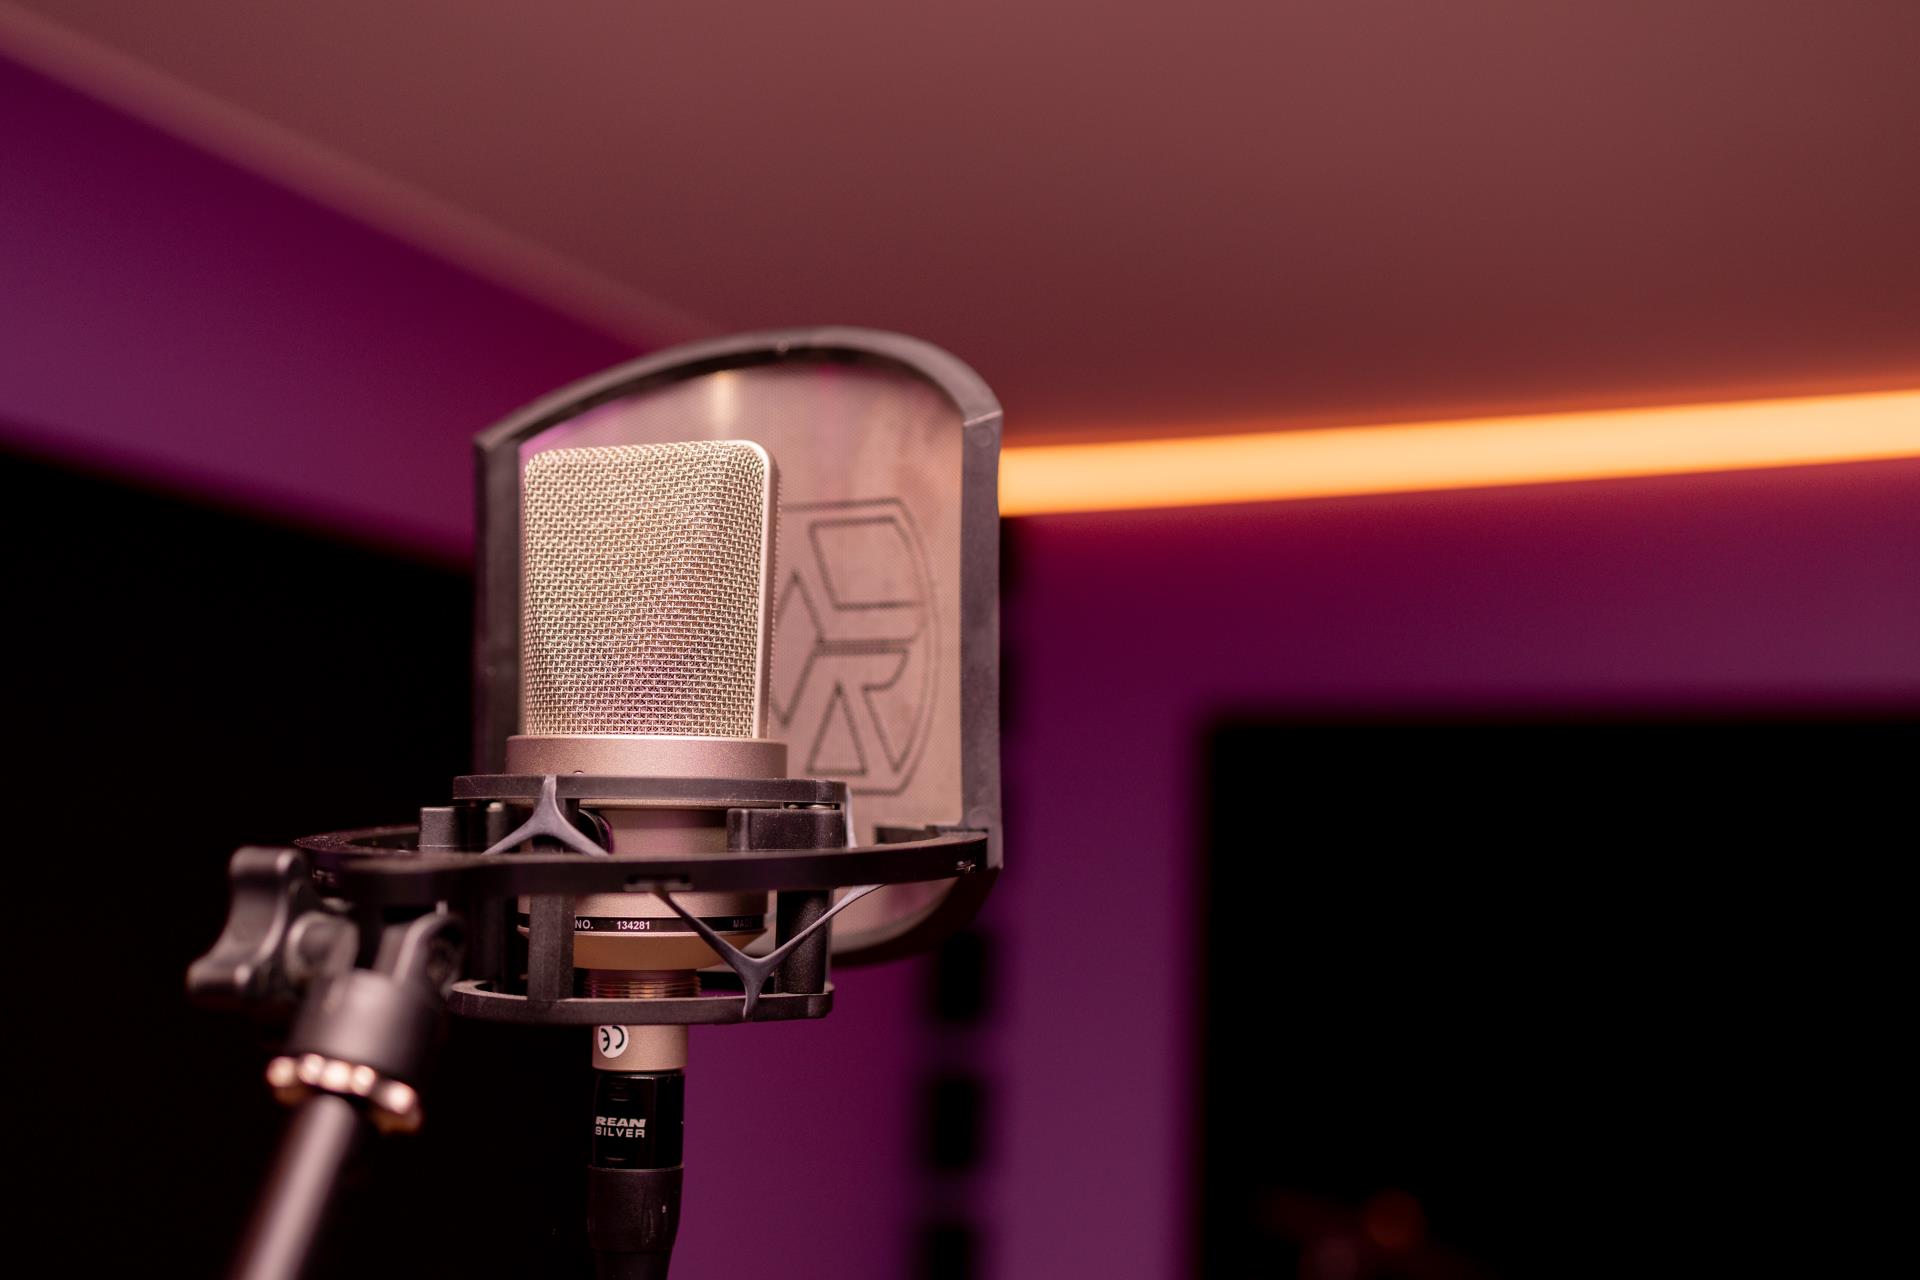
The first time you watch a seasoned sound engineer position microphones around a drum kit, you instantly realise there is a real art to pulling a great sound. Each slight adjustment and every careful angle calculation means something. After spending countless hours in recording studios, we’ve come to appreciate that microphone technique is much more than just capturing sound.
Let’s dive into some of the top mic strategies we use in the Nest.
The close-mic revolution
Think of close-mic positioning as conversing with someone in a crowded room – you want to hear their voice, not the chaos around them. We create an intimate connection between the instrument and the listener by placing the microphone within inches of the sound source. It’s particularly magical when recording acoustic guitars, where you can capture the subtle squeaks of fingers on strings that make a performance feel alive.
However, close-mic positioning isn’t just about proximity. The angle matters just as much as the distance. We learned this lesson the hard way when recording a particularly bright Martin acoustic guitar. Pointing the mic directly at the 12th fret gave us harsh, brittle highs, but angling it slightly toward the body transformed the sound into warm, chocolatey goodness.
Room mics find the space between the notes
While close-mic positioning gives us clarity, room mics let the recording breathe. Ever noticed how different a violin sounds in a cathedral versus your living room? That’s the room doing its thing. When we set up room mics, we’re capturing the instrument AND its conversation with the space around it.
For example, we once recorded a string quartet in an old converted church. We positioned room mics near the back wall, and the natural reverb they picked up added a dimension that no digital plugin could replicate. The trick was finding the sweet spot where the room enhances rather than muddles the direct sound.
The overhead symphony
Drum overheads might seem straightforward – just stick some mics above the kit, but the placement of these mics shapes how listeners perceive the size and space of the kit.
A technique we’ve developed involves using mismatched overhead pairs. While traditionalists might gasp, combining a bright condenser with a darker ribbon mic can create a fascinating stereo image that’s detailed and smooth. Breaking the rules is fine if you do it thoughtfully.
Mid-side is the right side
Mid-side (M/S) recording remains one of the most misunderstood yet powerful techniques in the toolkit. It’s like having a zoom lens for audio – you can adjust the stereo width after the fact without introducing phase issues. We’ve saved countless vocal sessions by using M/S technique, especially when the artist moves around unpredictably.
The real beauty of M/S reveals itself during mixing. That flexibility to adjust the stereo image can help elements sit perfectly in a busy mix or create dramatic width changes for emotional impact.
Better together: Close and room
Here’s something they don’t teach in audio school: the power of combining close and room mics isn’t just about balance – it’s about emotional impact. When recording piano, we often use three perspectives: close mics for clarity, mid-distance for body, and room mics for air – we’re painting with multiple brushes simultaneously.
The trick lies in the blend. Sometimes, just a touch of room mic breathes life into an otherwise dry recording. Other times, pushing the room mics forward creates a sense of space that pulls listeners into the performance.
We’re not phased about phase
Phase relationships between multiple mics can make or break a recording. The famous 3:1 rule (keeping mics three times as far from each other as they are from the source) is just the beginning. We’ve found that sometimes, intentionally using phase relationships creatively can produce unique textures that are impossible to achieve otherwise.
When multi-miking drums, for instance, slightly adjusting the phase relationship between the snare top and bottom mics can dramatically affect the snap and body of the sound. If you find the sweet spot between technical correctness and artistic intention, you will produce an amazing recording.
When modern meets vintage
While modern technology gives us incredibly accurate microphones, there’s something special about vintage techniques. Using a single ribbon mic on a guitar cabinet, slightly off-axis, can capture a warmth that multiple modern mics might miss. We all love nostalgia, but embracing the character of vintage equipment is a skill that benefits all recordings.
We recently recorded a blues guitarist who was unhappy with his tone using conventional techniques. We switched to a single vintage ribbon mic, positioned it off-axis, and suddenly the sound had the grit and soul he was looking for because, and we cannot stress this enough, sometimes less really is more.
The human element
Perhaps the most crucial aspect of microphone technique isn’t technical at all – it’s psychological. The best-positioned microphone won’t help if the performer isn’t comfortable. We’ve learned to balance technical perfection with creating an environment where artists can forget about the technology and focus on their performance.
Sometimes, this means compromising on “perfect” placement to accommodate an artist’s preferred playing position. There is one fule here that we never mess with – a great performance always trumps technical perfection.
The right microphone technique serves the music. Every decision, from mic choice to placement, should support the emotional impact of the performance. As technology evolves, these fundamental principles remain unchanged – it’s still about capturing lightning in a bottle via a carefully placed microphone.